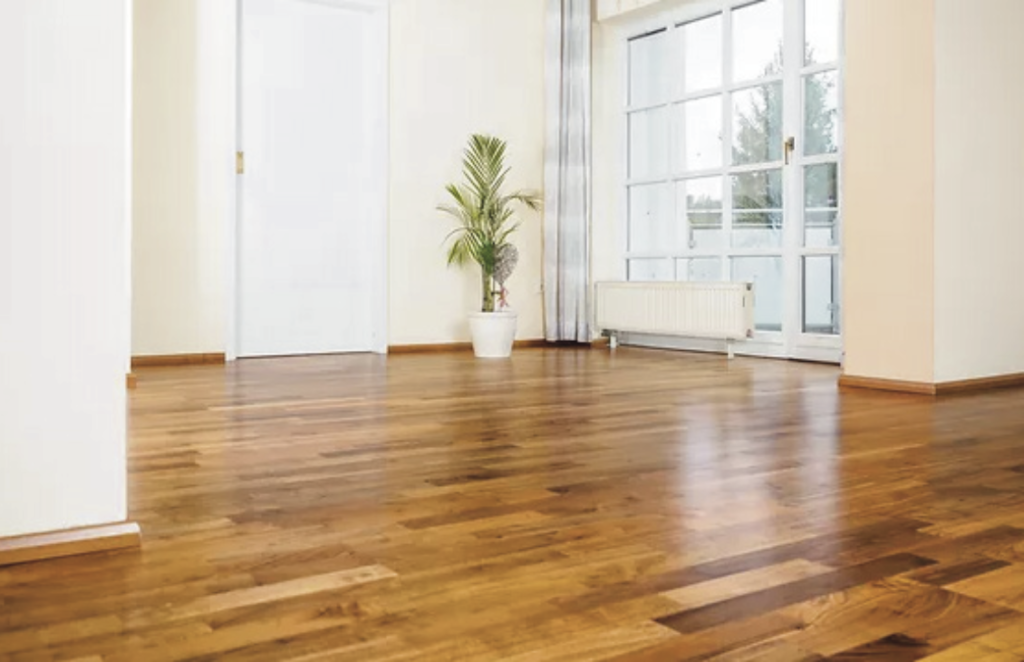
Wood Sanding & Lacquer
By choosing a Pallmann applicator/contractor you are automatically covered by the Product Support Pallmann offers to their trained applicators. This covers our clients and ourselves against the product failing with any wood sanding & lacquer
- PREPARATION OF THE FLOOR BEFORE SANDING
We will inspect the floor to ensure all nails are well below the wood surface. All loose board will be secured before sanding commence. - HIGH-FILTRATION VACUUM
Removal of dry soil and particles that might cause damage to the floor during the sanding process. - SANDING OF THE MAIN FLOOR AREA
The system we use is 95% dust free as we use an advanced extraction system. Different grit values on the bell sander will ensure a quality finish.


- EDGES AND DETAILED SANDING
Our edging sander delivers a uniform finished to all edges and hard to reach places under fixes furniture and radiators. - FINAL FINISHING: ROTARY SANDING
A super fine grit sanding system will deliver a superior and even finish to the whole floor area. This is done by means of a rotary sander. - FINE DUST REMOVAL
Highly efficient vacuum system is used for the thorough removal of any dust particles from the freshly sanded wooden floor.
Application of a Primer to the sanded floor followed by one coat of water-based lacquer.
Once the first coat has cured, the floor will be prepared for a further 2 coats of lacquer. Be aware that if will take up to 8 hours* for the floor to cure enough to allow light foot traffic. Furniture can only move back 24 hours* after foot traffic has commenced. (Avoid at all cost dragging furniture on a freshly lacquered floor surface.)
*Curing and drying time depends on weather conditions and airflow-floors much quicker
