Pine floors have an authentic character to them, don’t you agree?
These floors are prominent in many Victorian houses.
However, these floors tend to have an orange look, and we are finding this is not wanted anymore stepping into new modern times.
I must add that the orange look only applies to the Victorian pine boards. The newer ones tend to have a whiter look now.
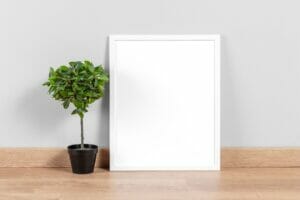
A great deal of our customers wants their older pine floors to have a whiter looking pine, as seen in this photo:
We work alongside Ultimate Floor Care, who also found this was a regular request!
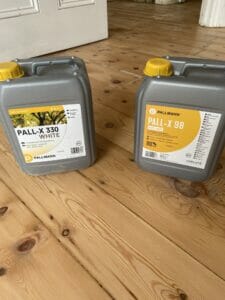
For years making a pine floor whiter was almost impossible, and then they worked with Pallmann to produce a product to help make this possible.
This excellent product is called Pall x 330 white.
To see the products and what Ultimate Floor Care do please click here.
We recently restored a client’s floors, and she requested a whiter look.
Below are the stages of the floor we recently done:
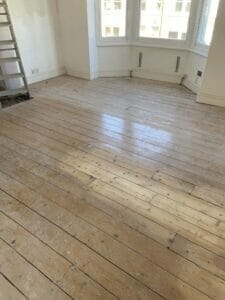
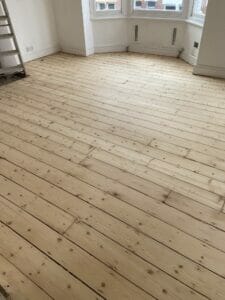
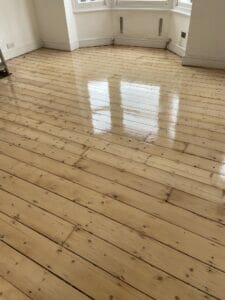
Before starting After sanding After finishing
Beautiful, aren’t they?
They will inspect the floor to ensure all nails are below the surface of the wood and secure any loose boards.
A high-filtration vacuum removes any soil or particles that may cause damage to the floor during the sanding process.
The sanding system we use is 99.9% dust free as it has an advanced extraction system.
We will then sand using a bell sander and work through different grit sizes to ensure we achieve a high-quality finish.
We will then use an edging sander to finish your wood floor, ensuring the edges and hard to get to places.
Our techs will now use a rotary sander with a super fine grit to leave the floor with a superior and even finish to the whole floor.
And finally, we will use a highly efficient vacuum to remove dust particles on your newly sanded floor.
When applying any of the Pallmann products, you must follow the instructions!
One of our trained technicians couldn’t stress enough that even something like applying when the air temperature is too hot will make a massive difference to the finish.
The recommended temperature application for Pall x 330 white is 18-25.
The lacquer is similar, but there is more of a margin.
You can see from this picture what happens if just the temperature isn’t right:

The darker patches are where the finish has dried quickly and left dark patches in certain areas.
For further advice or information on our Carpet and Soft Furnishing care, please do not hesitate to contact the Art of Clean team on 01223 901551 in Cambridge. Our services include Carpet Cleaning, Upholstery Cleaning, oriental and area Rug Cleaning, Curtain Cleaning, Patio, and Driveway Pressure washing, Leather Cleaning, Stone and Tile Floor Cleaning, and Wood Floor Sanding and Restoration. We also supply new flooring and carpets through our sister company Art of Flooring. Our Dry-Cleaning service is provided by Farthings Cambridge
 Written by Tracey Gilbey, Marketing and Admin Coordinator at Art of Clean.