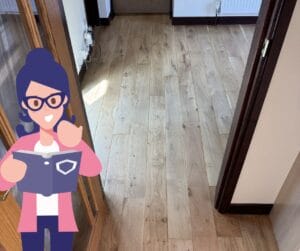
Owning a home often means solving little mysteries, like why is there a sudden gap in your wooden floor? If you’ve been staring at a gap between your wooden floors and wondering what on Earth happened, you’re not alone.
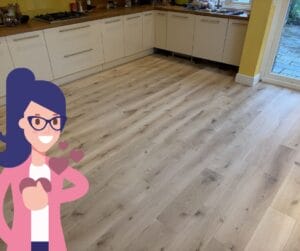
Jamie had the same issue: a strange gap appeared between two sections of wooden floorboards, separated by a strip of tiles. The gap grew and shrunk seasonally, making any DIY fixes frustrating and ineffective. So, how can you solve this problem? Let’s break it down.
Why Do Gaps Appear?
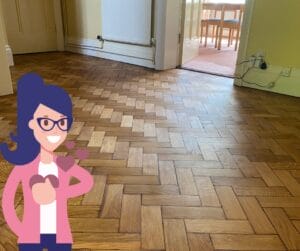
The gap issue is primarily due to wood’s natural tendency to expand & contract with changes in moisture levels. The culprit is often seasonal changes. During winter, your home heating system can dry out the air, causing the wood to shrink and create gaps. On the flip side, the wood absorbs moisture during the summer, leading to expansion but not necessarily closing the gap entirely. The contraction and expansion usually occur across the grain, meaning in the width rather than the length of the wood.
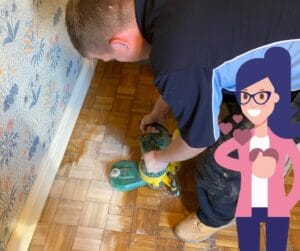
The First Step: Examine Support Underneath
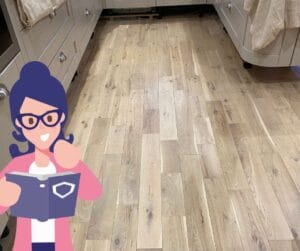
Before attempting any fixes, make sure there’s a solid surface underneath the gap. Any material you use without proper support to fill the gap could just fall out, just like Jamie’s previous attempts. You might have to lift the floorboard to check this. If there’s a gap or void underneath, you’ll need to fill it to create a supportive base.
Use the Right Filler: Consider Spray Cork
Once you’ve confirmed proper support underneath, the next step is choosing the suitable filler. One effective solution is using a spray cork. This product is a cork in a semi-liquid form, which is perfect for our application. Cork has the property of slight flexibility, allowing it to expand and contract along with your wooden floor, reducing the likelihood of the gap reappearing.
Step-by-Step Gap Filling:
- Mask the Area: Place masking tape on both sides of the gap. This helps you apply the filler neatly and protect the surrounding wood and tiles.
- Apply the Filler: Using the spray cork, fill the gap slightly more than level with the surface of the floor (“a little bit proud,” as they say).
- Let it Dry: Give it a few days to set.
- Trim the Excess: Use a sharp knife to carefully trim the filler so it’s flush with the floor surface.
That’s it! You’ve successfully filled that annoying gap in your wooden floor.
Final Thoughts
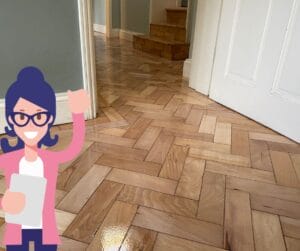
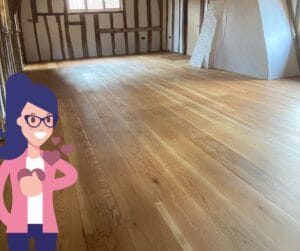
Wooden floors can bring warmth and beauty to your home, but dealing with gaps can be a bit of a headache. Understanding why these gaps occur and how to fill them effectively can save you time, money, and frustration. If you need more clarification, you can always seek professional help to ensure the job is done right.
In Jamie’s case or yours, taking the time to correctly fill these gaps not only improves the look of your floor but also extends its life. Happy home maintenance!
In this video, you can see the problem Jamie had:


Written by Tracey Gilbey, Marketing
For further advice or information on our Carpet and Soft Furnishing care, please don’t hesitate to contact the Art of Clean team on 01223 901549 in Cambridge. Our services include Carpet Cleaning, Upholstery Cleaning, oriental and area Rug Cleaning, Curtain Cleaning, Patio and Driveway Pressure washing, Leather Cleaning, Stone and Tile Floor Cleaning and Wood Floor Sanding and Restoration. We also supply new flooring and carpets through our sister company Art of Flooring. Farthings Cambridge provides our Dry Cleaning service.