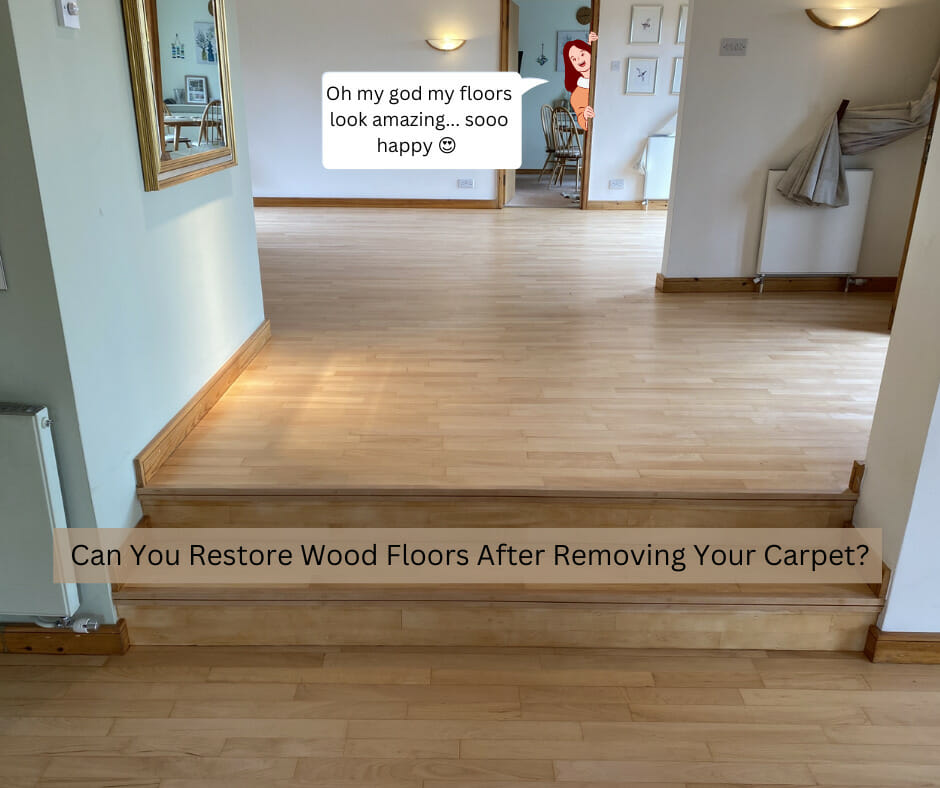
Welcome back, home enthusiasts! If you’re here, you want to know, “Can you restore your wood floors after removing your carpet?” So that’s what I will help you with!
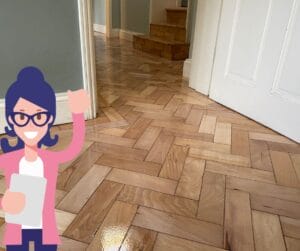
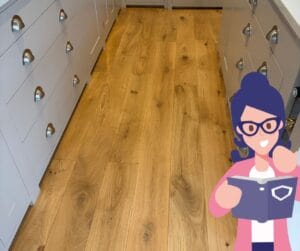
If you’ve recently bid farewell to your old carpet and discovered the hidden treasure beneath – beautiful hardwood floors – congratulations! Well, buckle up cause you’re about to embark on an exciting journey of restoring and reviving your wooden wonders.
In this blog post, we’ll guide you through how to restore wood floors after removing old carpet, ensuring you achieve stunning results that will leave your guests in awe. So, let’s dive right in and discover the secrets of hardwood floor restoration!
Assessing the Condition of Your Wood Floors After Removing the Carpet:
Before you begin the restoration process, it’s essential to evaluate the condition of your wood floors. This assessment will help you determine the level of restoration required and the appropriate techniques to employ.
- Carefully inspect the entire floor surface for any visible damage, such as scratches, stains, or gaps between the boards.
- Make a note of the areas that require attention and determine the severity of the damage.
- If there are minor scratches, you can address them with simple repair techniques. You may need to consider more extensive repairs or professional assistance for deeper scratches or significant damage.
Preparing for the Restoration Journey of Your Wood Floors After Removing the Carpet:
Preparing your space for restoration is crucial to achieve the best possible results. This will give you a blank canvas to work with and make the restoration process much easier.
- Clear the room of all furniture, rugs, and any other objects that may hinder the restoration work. This will provide you with ample space to move around and work effectively.
- Remove any baseboards or trim that may obstruct the edges of the hardwood floor. Use caution to avoid damaging the trim, as you will need to reinstall it later.
Cleaning and Removing Residual Carpet Adhesive Ready to Restore Your Wood Floor:
After removing the carpet, you might find sticky residues or adhesive on your wood floors. These remnants can mar the beauty of your wood and make the restoration process challenging. Fear not! We’ve got you covered. Below I have provided you with effective methods to remove the carpet adhesive without damaging the wood’s integrity.
- Start by vacuuming the floor to remove loose dirt and debris.
- Add a commercial adhesive remover or warm water and dish soap mixture to the affected areas to remove carpet adhesive.
- Allow the adhesive remover to penetrate for a few minutes, then gently scrub the adhesive using a soft-bristle brush or a plastic scraper.
- Wipe away the adhesive residue with a clean, damp cloth, and repeat the process if necessary.
- Once you have removed the adhesive fully, clean the entire floor surface with a hardwood floor cleaner to ensure it is free from any remaining residues.
Repairing Scratches and Gaps to Restore Your Wood Floor After Removing the Carpet:
Over time, hardwood floors can develop scratches and gaps. These imperfections diminish the aesthetic appeal and pose a risk of further damage. Here are simple and effective techniques to repair these flaws and bring your hardwood floors back to life.
- For minor scratches, you can use a hardwood floor touch-up pen or marker that matches the floor colour. Simply fill in the scratch with the pen, let it dry, and gently buff the area with a soft cloth.
- Use fine-grit sandpaper to sand the affected area along the grain for deeper scratches until the scratch becomes less noticeable. After sanding, clean the area and apply a matching wood stain if needed. Finish by applying a protective topcoat to blend the repaired area with the rest of the floor.
- To fill gaps between boards, use a wood filler or putty that matches the floor colour. Apply the filler into the gaps using a putty knife, smooth it out, and let it dry. Sand the filled areas lightly to achieve a smooth, even surface.
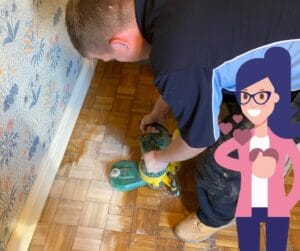
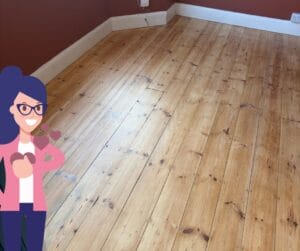
Sanding to Perfection:
Sanding is a crucial step in restoration as it removes surface imperfections and prepares the wood for refinishing.
- Start with coarse-grit sandpaper (around 36 or 40 grit) to remove any existing finish, scratches, or unevenness on the floor surface. Always sand along the grain of the wood.
- Gradually switch to finer-grit sandpapers (60, 80, and 120 grit) for a smoother finish. Continue sanding until you achieve a uniformly smooth surface.
- Use a floor edger or a handheld sanding tool to reach the corners and edges of the room where a large sander cannot reach.
- Sweep/Vacuum the floor thoroughly to remove all dust and debris after each sanding pass.
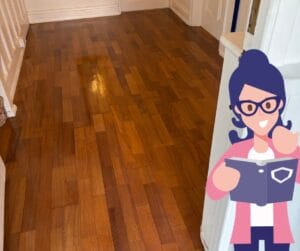
Choosing the Perfect Finish after you restore your wood floor:
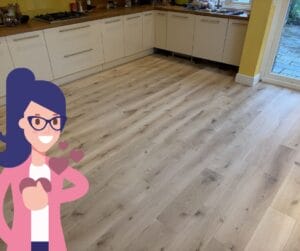
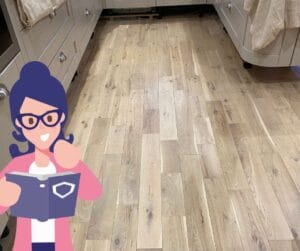
Now comes the exciting part – choosing the ideal finish to enhance the beauty and protect your newly restored wood floors.
- Consider the level of durability and sheen you desire when selecting a finish for your hardwood floors.
- Oil-based polyurethane finishes provide a warm, amber-toned appearance but require longer drying.
- Water-based polyurethane finishes dry quickly, has a clear appearance, and emits fewer odours.
- Oil-modified polyurethane finishes offer a middle ground, providing a mix of durability, drying time, and appearance.
- Test different finishes on a small inconspicuous area of the floor to determine the colour and finish you prefer before applying it to the entire floor.
Applying the Finish:
Applying the finish is a delicate process that requires precision and attention to detail. From selecting the right brushes or applicators to understanding drying times, I’ve got you covered! Please remember this process is challenging, and if you need more help, we would be happy to either give you advice or a quote.
- Start by applying a thin and even coat of the chosen finish using a high-quality brush or applicator pad. Work your way from one end of the room to the other, following the grain of the wood.
- Allow the finish to dry completely according to the manufacturer’s instructions. This typically takes a few hours to overnight.
- Lightly sand the dried finish with fine-grit sandpaper (120 grit) to remove any imperfections or bubbles. Vacuum or wipe the floor clean after sanding.
- Apply subsequent coats of finish, following the same process of even application, drying, and sanding between each coat. The number of coats required will depend on the desired level of durability and sheen.
Maintenance Tips for Long-Lasting Beauty:
Congratulations! You’ve successfully been able to restore your wood floors after removing your carpet. But the journey doesn’t end here. From regular cleaning routines to preventative measures, here you’ll learn how to keep your hardwood floors looking their best. For further help with this step, you can download our free eBook at the end, and I will also add another blog we have done about maintenance.
- Regularly sweep/vacuum your hardwood floors to remove dust, dirt, and debris. Avoid using vacuums with beater bars that can cause scratches.
- Clean spills immediately with a damp, soft cloth to stop any moisture from seeping into the wood.
- Use an appropriate wood floor cleaner recommended by the manufacturer to clean the floors periodically.
- Place protective felt pads under furniture legs to prevent scratches when moving them.
- Avoid wearing high heels on your stunning wood floors or shoes with sharp edges that may cause indentations or scratches.
- Consider using rugs or mats in high-traffic areas to minimize wear and tear.
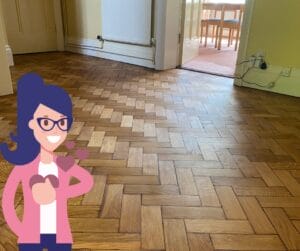
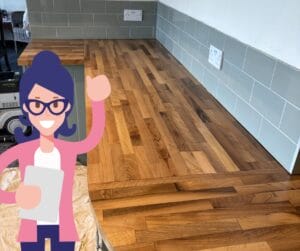
Congratulations… You’ve journeyed through the process and were able to restore your wood floors after removing the carpet, unveiling the hidden beauty that lay beneath. By following our expert advice, you should successfully revive your wood floors, leaving them looking breathtaking and ready to impress your guests. Remember, hardwood floor restoration is a labour of love, and with our guidance, you can achieve amazing results that will stand the test of time. So go ahead, take the leap, and transform your space into a haven of elegance and warmth with your restored hardwood floors. Happy restoring!
Are you looking for a floor sanding company? Check out this blog:
If you want to know if wood floor restoration is good for the environment, check out this blog:

Written by Tracey Gilbey, Marketing
For further advice or information on our Carpet and Soft Furnishing care, please don’t hesitate to contact the Art of Clean team on 01223 901549 in Cambridge. Our services include Carpet Cleaning, Upholstery Cleaning, oriental and area Rug Cleaning, Curtain Cleaning, Patio and Driveway Pressure washing, Leather Cleaning, Stone and Tile Floor Cleaning and Wood Floor Sanding and Restoration. We also supply new flooring and carpets through our sister company Art of Flooring. Farthings Cambridge provides our Dry Cleaning service.